
Whether you’ve got tame pigeons for pets at your home or a couple of champion racing pigeons, you’ll need a comfortable but secure one to keep them all year round.
However, buying a pigeon coop from a store or getting someone else to make one up for you can get pretty costly, but there are ways to avoid these extortionate costs and that’s by doing it yourself.
We know DIY is not everyone’s strong point, but don’t worry you don’t need to be a whizz with the tools to be able to tackle a project like a pigeon coop.
Building your own pigeon coop will allow you to make it the perfect size wherever you decide to place it regardless of if that’s your balcony or your yard, the two main things you need to worry about is that it’s sheltered from the rain but gets enough sunlight throughout the day.
Remember, you’ll need to build one that’s the right size for the number of pigeons that you care for, and also consider whether you’ll need to extend or build a new one in the future if your pigeons breed.
If you keep around 20 pigeons, then it’s recommended to have a coop that is 7 x 6 feet.
So let’s get into the guide on how to build a pigeon coop for yourself.
What You’ll need
- Graph Paper
- Tape Measure
- Pencil/Marker
- Rope
- Shovel
- Screws
- Nails
- Hammer
- Saw
- Drill
- Wirecutters
- Chicken Wire
- Plexiglass
- 4×4 boards
- 2×4 planks
- Plywood
- Metal Sheet or Paint (Optional)
The above quantity of materials is what we used to build our coop for our yard, and you’ll need to base your quantity of materials on what size you’re going to make your coop.
You may find the process either with the help of someone else, especially if you’re not very nifty with DIY.
Building A Pigeon Coop: An Easy Step-by-Step Guide
Unless you’re a seasoned DIYer, then we’d recommend keeping the design of your pigeon coop simple to avoid mishaps occurring.
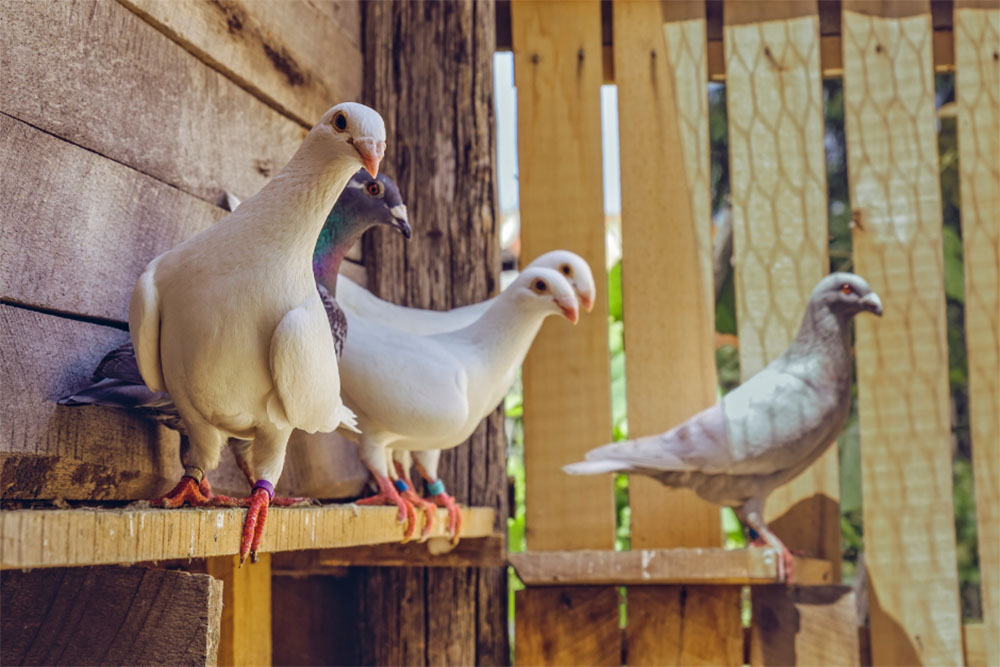
It will only need to have adjoining walls, a roof and a floor, vents, and nesting areas inside. Your pigeon coop should also be off the floor.
Get Measuring
Your first step will be to start measuring up the area that you intend to place the pigeon coop in and then draw up this area on your graph paper so you’ll know what it’s going to look like when it’s erected.
You may even want to sketch out a floor plan inside your coop so you know where you’ll be placing your roosting and nesting areas.
Work Out Your Quantity Of Materials
Now from your measurements, you’ll need to work out how much of the materials you’ll need to build the entire construction of your coop.
The biggest pieces of plywood will be for the floor and the roof of the coop and also the side walls.
If your coop is going to be placed against a concrete wall, then you may not need to put a back wall in and you’ll only need enough plywood for 3 walls.
You’ll want your coop to be completely weatherproof, which may entail you adding a sheet of metal to the roof and outer walls to protect them from getting damaged from the elements or you could choose to use weatherproof paint on top of the plywood.
You’ll also need 2×4 and 4×4 pieces of wood to construct the frame of the coop before you secure the plywood for the walls.
If your coop is going to be fairly large though, you’ll want more of these to help strengthen the structure.
You’ll need to work out the square footage of the roof and the floor to know what sized pieces to get.
You can do this by multiplying the length by the width of the floor. You’ll then need 2 of these pieces for the roof and then the floor.
If you’re going to build individual nesting beds for your pigeons then you’ll need to measure and work out what quantity of wood you’ll need for this.
Build Your Frame & Secure The Floor
You’ll need to dig 4 holes that are around 1 foot deep each to be able to place your framing pieces in.
Measure and cut 12 inches from 2 of your 4×4 pieces of wood and then put the two short pieces of the 4×4 into the 2 front holes and then fill in with the dug-up dirt to make sure it’s secure in the ground.
Then with the leftover pieces of the 4x4s, put them into the 2 back holes and fill them in with the dirt.
On each of the 4x4s you’ve secured in the ground, measure 12 inches from the floor and make a mark with a pencil or a marker.
Then secure a 2×4 to the front of each 4×4 by the mark you’ve just made using your hammer and nails.
Now you’ll need to measure 6 feet from the floor and then secure another 2×4 piece in place with the hammer for each of the 4x4s as this will make the frame for your door.
Now it’s time to secure the plywood flooring that you measured and cut using nails or screws.
Build Your Walls
Measure 12 inches from one of your corner 4x4s and then secure a 2×4 to the 2×4 that is already secured at the top of that corner post and the floor.
Then do this step every 12 inches around your pigeon coop.
You’ll be using the plywood for your walls and you’ll need to secure them to your 4x4s and your 2x4s. When all walls are installed, measure up the size for your door and window and then cut out with a saw.
Securing Your Roof
You’ll need to begin screwing 4 4x4s together to then create the bigger frame for your roof. Secure the plywood so that it covers the 4×4 frame and attach a metal sheet to make it waterproof.
We’d recommend weatherproofing with paint at the end of the project.
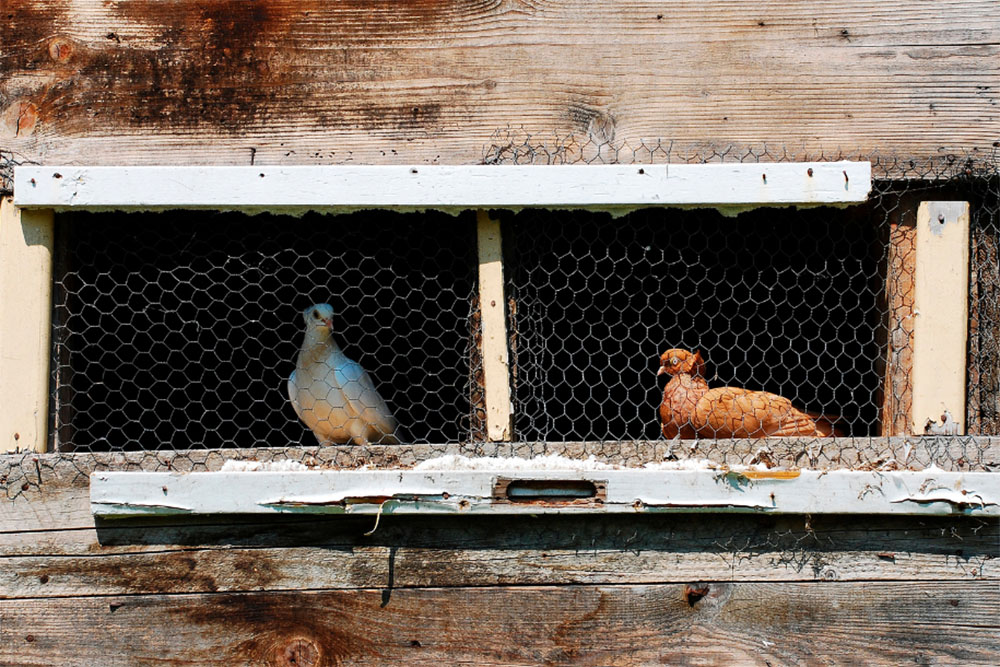
Adding Your Wire Mesh
Attach your chicken wire to your window or windows depending on how big your coop is using staples. The wire provides ventilation when the windows are opened.
Measure and cut your plexiglass to size, but ensure that they are slightly larger than the windows.
Drill 2 holes centrally at the top and bottom of each pane and then hammer in a nail centrally above the gap where the window will be.
Now add the plexiglass onto the nail and then measure the distance between two holes in the pane and measure and mark the same distance above where you’ve placed the first nail.
You should then be able to rotate the pane to open up the window.
Repeat as necessary with the rest of your windows.
Make It Cozy For Your Pigeons
Using leftover pieces of your plywood and 2x4s, you can create shelving and nesting areas inside the coop and secure them using nails.
The sizing will be based on how many pigeons you have in your coop.
Finish With A Door
Mark out a place to install your hinges on one side of the door frame and do the same for the piece of plywood you intend to use for the door.
Drill a hole in both pieces of wood before you secure the door to the construction with the hinges.
How To Maintain Your Pigeon Coop
Pigeons can be messy creatures, but you’ll need to stay on top of cleaning and maintaining your coop otherwise your pigeons won’t feel comfortable or safe there.
They should always have access to water with either a water bowl or water feeder attached to the chicken wire and you should aim to refresh the water every day.
Most people will feed their pigeons twice a day, but you should ensure that there is not a build-up of bird feed on the floor as not only will they end up overeating and putting on weight, but it’ll also be a breeding ground for bacteria.
You should deep clean your pigeon coop at least once a week, this could involve sweeping up the fallen feathers, debris, and leftover food.
You’ll also need to pay special attention to any shelving or nesting areas in the coop where there could be hidden debris.
You may find it easier to use a vacuum to clean up the mess inside your pigeon coop, but you may want to transfer the pigeons to a safe place whilst you do this as the noise may spook them.
You should always carry out regular checks on the security of your coop which could involve checking for holes in the wood or wiring so that predators like raccoons or even the neighbors’ bold cat who’s been eyeing up your pigeons.
Look out for loose nails or any metal hardware that could be poking out inside the construction that could cause harm to your pigeons.